
AGES 7–13 · 12 PAGES PER EDITION
Trail Puzzle Pack
Find a route. Crack a code. Explain your thinking. Eight original challenges turn a pencil-and-paper moment into a small adventure.
$4.99 USDOne digital pack
Review this packFor grown-ups · One-time purchase · English files
Explore the contents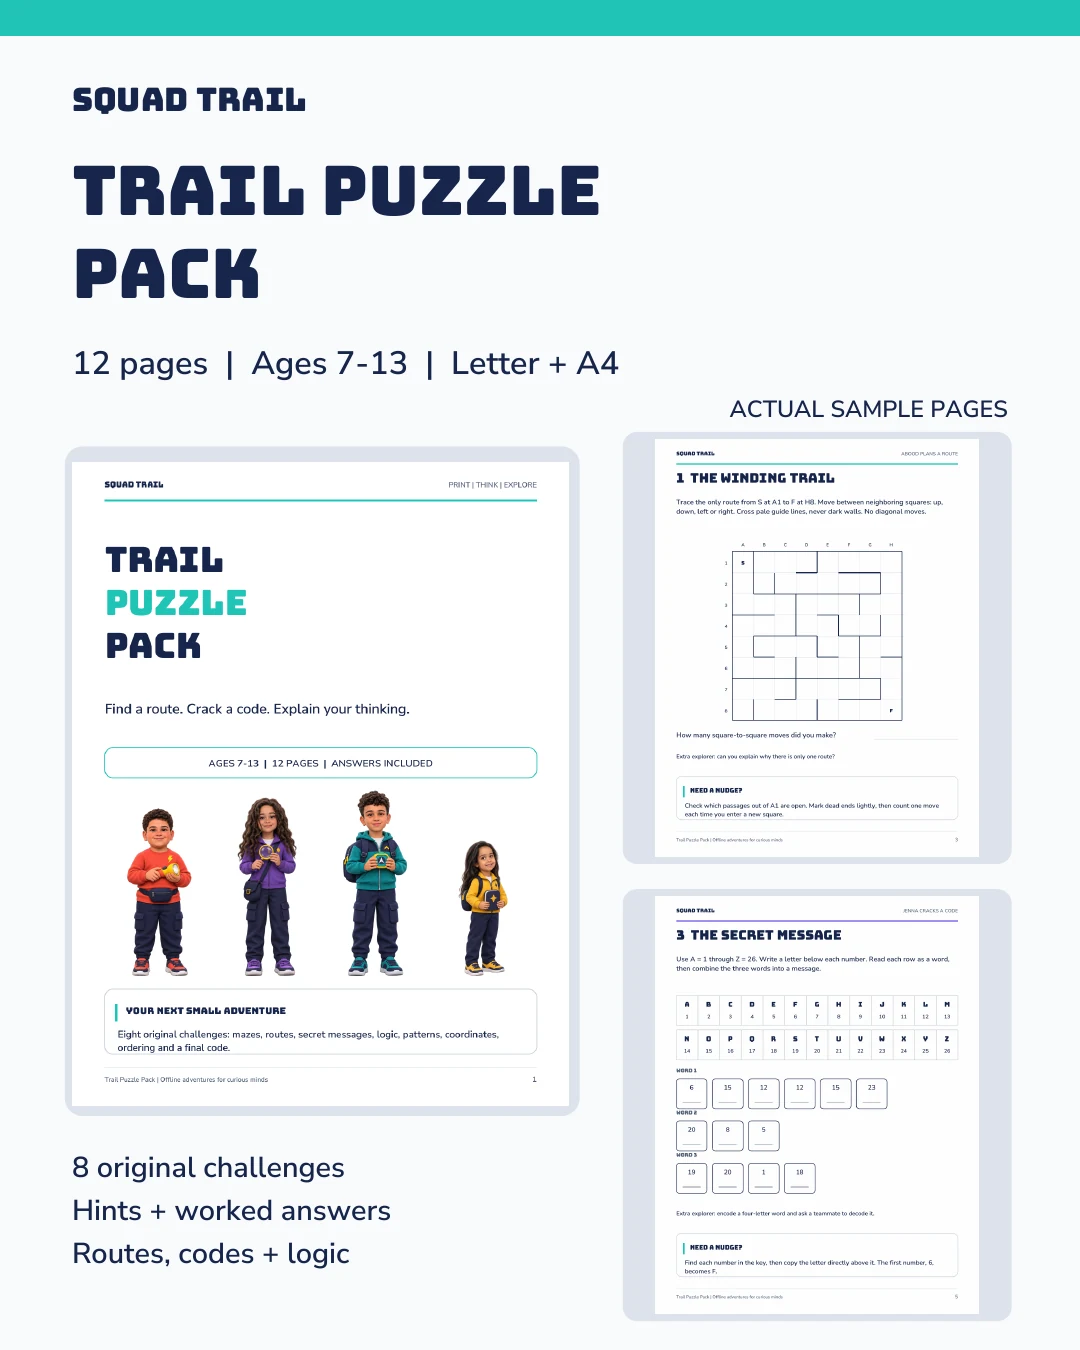 See the cover + sample pages
In the full pack
- Mazes, routes, codes, patterns and logic
- Hints to help without giving it all away
- Worked answers for all eight challenges
Before you start
- Supplies
- Printer, paper, a pencil and an eraser. Grayscale printing works.
- First steps
- Print challenges on pages 3–10. Keep worked answers on pages 11–12 covered until checking. Reading support may help.
Try one puzzle free
Print the Winding Trail maze before buying. Each PDF has one puzzle and its answer on a separate page.
Free download. In English. No account or purchase needed.
Look inside Contents guide + two sample pages
In the full pack
Page numbers are the same in both paper sizes.
- Pages 1–2
- Cover and getting started
- Pages 3–10
- Eight puzzle challenges
- Pages 11–12
- Worked answers
Also in the ZIPPrinting and grown-up guide.
Actual pages from this pack. English text; US Letter edition.
These are excerpts. Some activities need instructions or other pages from the full pack.
Read sample text (English)
Text equivalent of this sample page, with diagram descriptions.
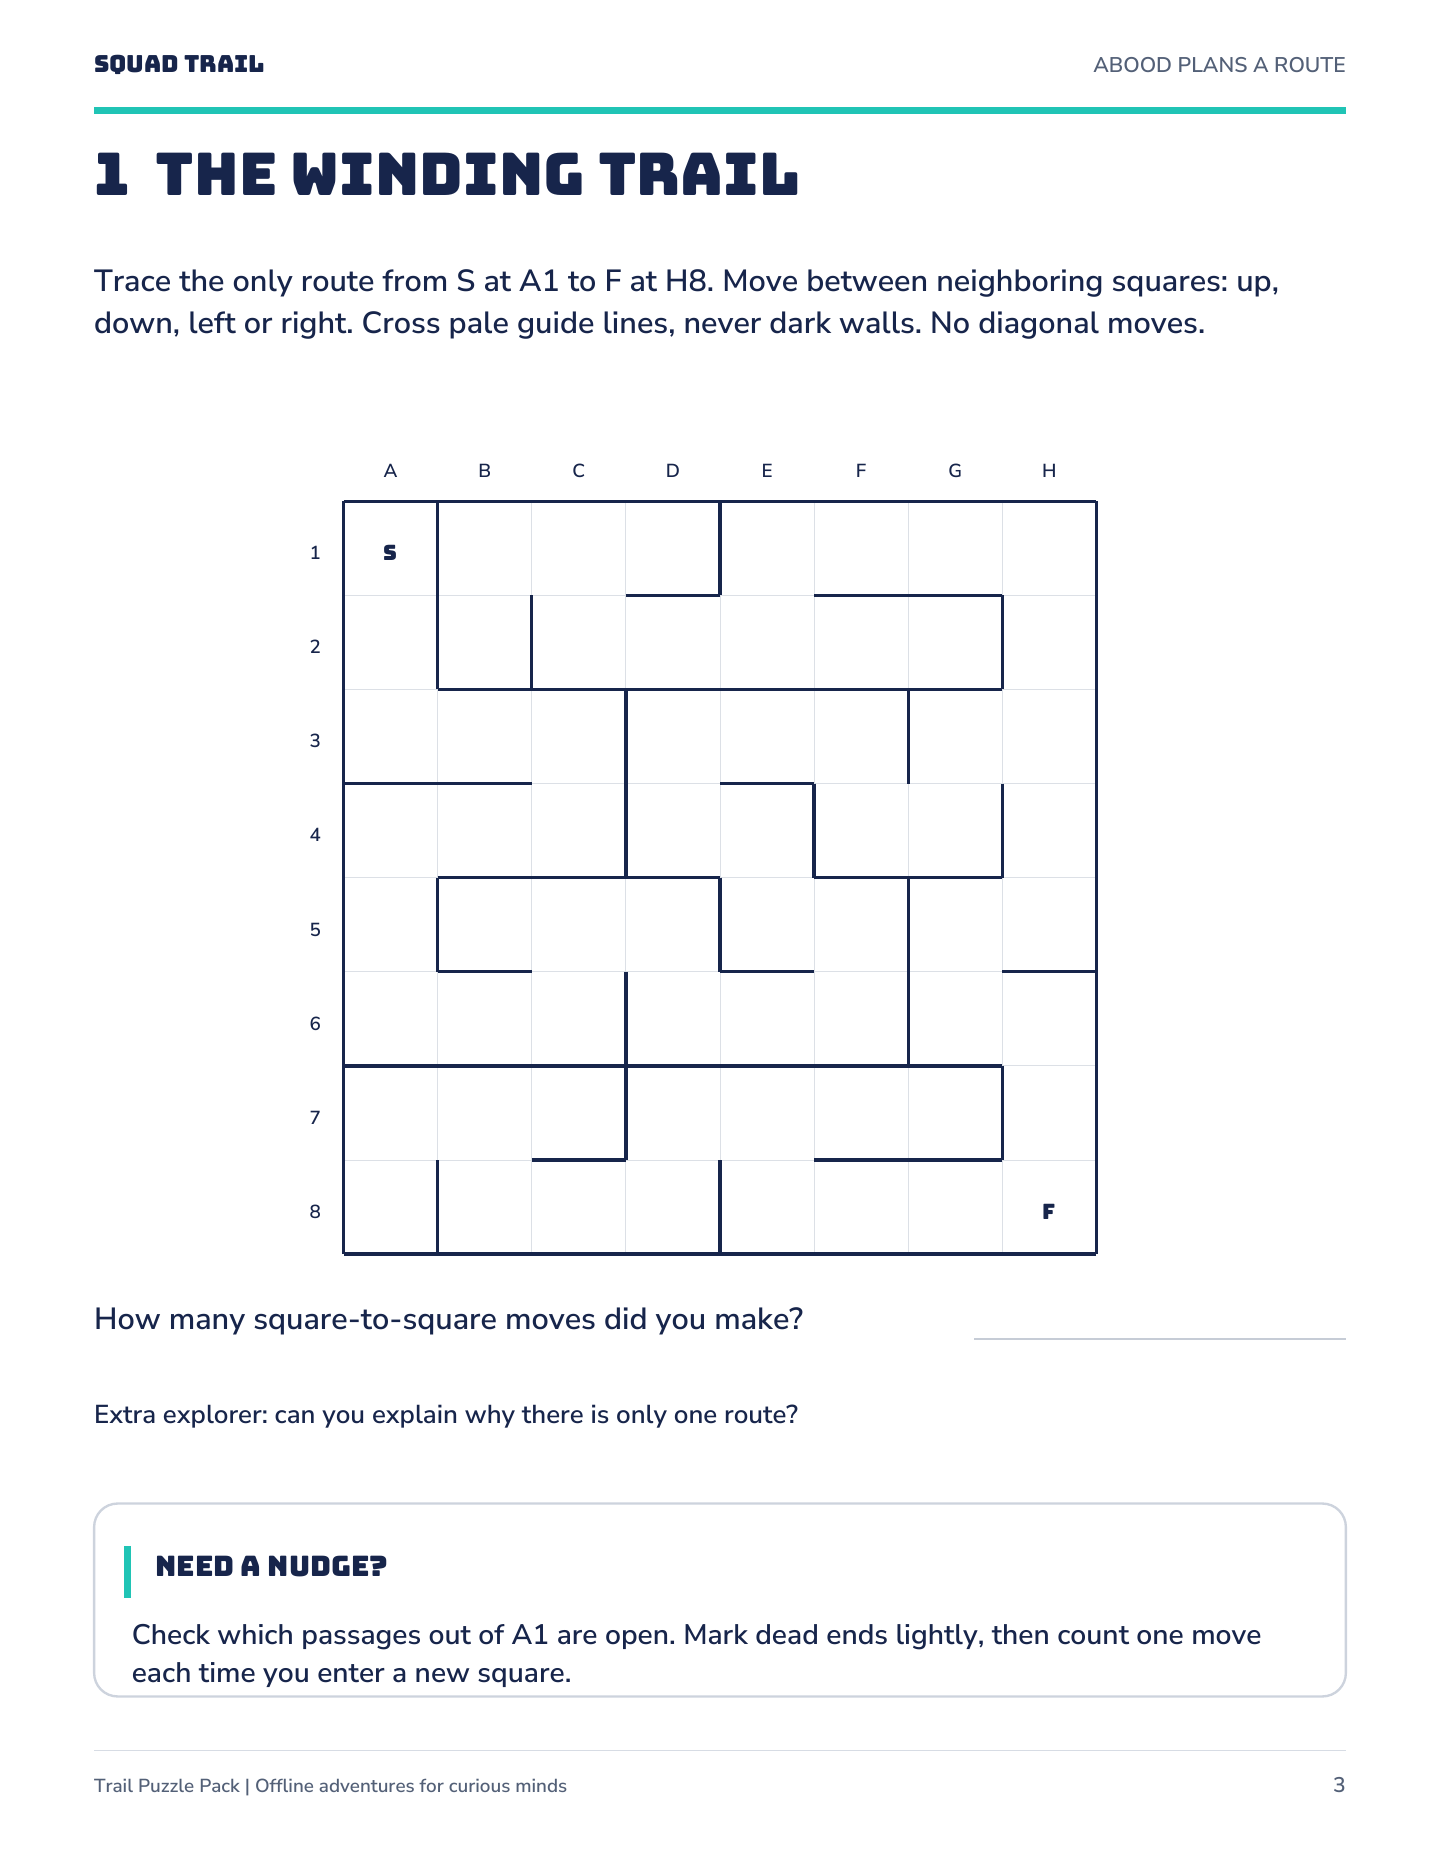
Abood plans a route. Trace the only route from S at A1 to F at H8. Move between neighboring squares: up, down, left or right. Cross pale guide lines, never dark walls. No diagonal moves.
Diagram description: columns A–H run left to right; rows 1–8 run top to bottom. Start is A1 and finish is H8. The passage list gives every open connection in both directions. Every other border between neighboring squares is a wall.
How many square-to-square moves did you make?
Need a nudge? Check which passages out of A1 are open. Mark dead ends lightly, then count one move each time you enter a new square.
Extra explorer: can you explain why there is only one route?
Open passages by square
- A1: A2.
- B1: B2, C1.
- C1: B1, C2, D1.
- D1: C1.
- E1: E2, F1.
- F1: E1, G1.
- G1: F1, H1.
- H1: G1, H2.
- A2: A1, A3.
- B2: B1.
- C2: C1, D2.
- D2: C2, E2.
- E2: D2, E1, F2.
- F2: E2, G2.
- G2: F2.
- H2: H1, H3.
- A3: A2, B3.
- B3: A3, C3.
- C3: B3, C4.
- D3: D4, E3.
- E3: D3, F3.
- F3: E3, F4.
- G3: G4, H3.
- H3: G3, H2, H4.
- A4: A5, B4.
- B4: A4, C4.
- C4: B4, C3.
- D4: D3, E4.
- E4: D4, E5.
- F4: F3, G4.
- G4: F4, G3.
- H4: H3, H5.
- A5: A4, A6.
- B5: C5.
- C5: B5, C6, D5.
- D5: C5, D6.
- E5: E4, F5.
- F5: E5, F6.
- G5: G6, H5.
- H5: G5, H4.
- A6: A5, B6.
- B6: A6, C6.
- C6: B6, C5.
- D6: D5, E6.
- E6: D6, F6.
- F6: E6, F5.
- G6: G5, H6.
- H6: G6, H7.
- A7: A8, B7.
- B7: A7, B8, C7.
- C7: B7.
- D7: D8, E7.
- E7: D7, E8, F7.
- F7: E7, G7.
- G7: F7.
- H7: H6, H8.
- A8: A7.
- B8: B7, C8.
- C8: B8, D8.
- D8: C8, D7.
- E8: E7, F8.
- F8: E8, G8.
- G8: F8, H8.
- H8: G8, H7.
 Open full-size page (new tab) ↗
Read sample text (English)
Text equivalent of this sample page, with diagram descriptions.
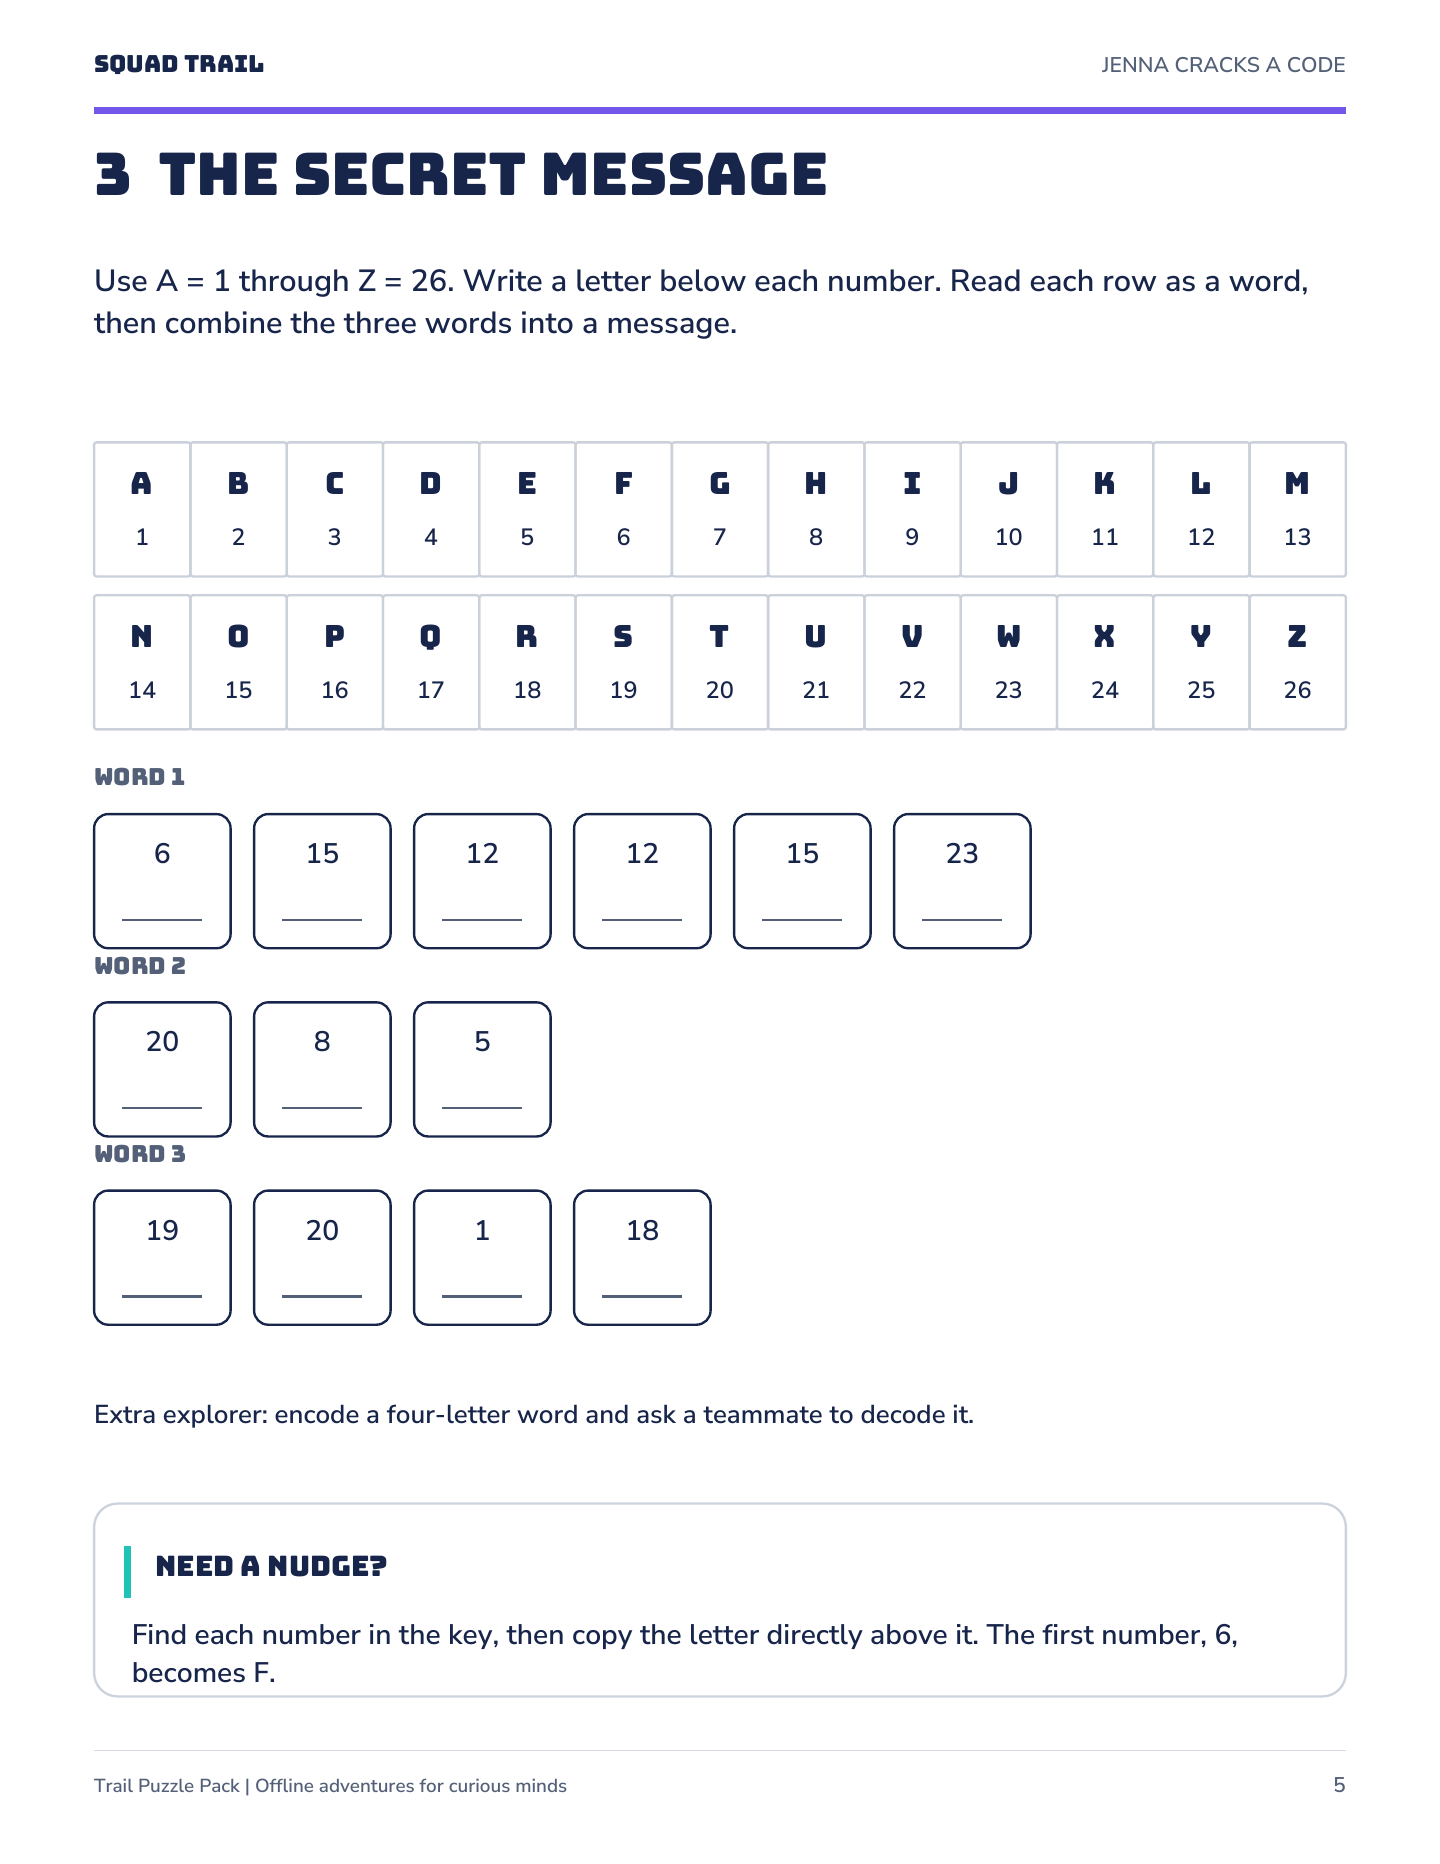
Jenna cracks a code. Use A = 1 through Z = 26. Write a letter below each number. Read each row as a word, then combine the three words into a message.
Letter-number key: A = 1, B = 2, C = 3, D = 4, E = 5, F = 6, G = 7, H = 8, I = 9, J = 10, K = 11, L = 12, M = 13, N = 14, O = 15, P = 16, Q = 17, R = 18, S = 19, T = 20, U = 21, V = 22, W = 23, X = 24, Y = 25, Z = 26.
Need a nudge? Find each number in the key, then copy the letter directly above it. The first number, 6, becomes F.
Extra explorer: encode a four-letter word and ask a teammate to decode it.
Three coded words
- Word 1: 6, 15, 12, 12, 15, 23.
- Word 2: 20, 8, 5.
- Word 3: 19, 20, 1, 18.
 Open full-size page (new tab) ↗
Before you buy
The pack files are in English. Changing the website language does not translate the PDFs.
Purchases are for adults. These are digital files, with no physical shipment. Download access lasts 30 days after payment confirmation in the same browser and device used for checkout.
Once saved, you can transfer the files to your own printing device. There is no automatic account or email recovery; contact the team if you need help. Do not buy again just to recover a file.
Compare all digital packs